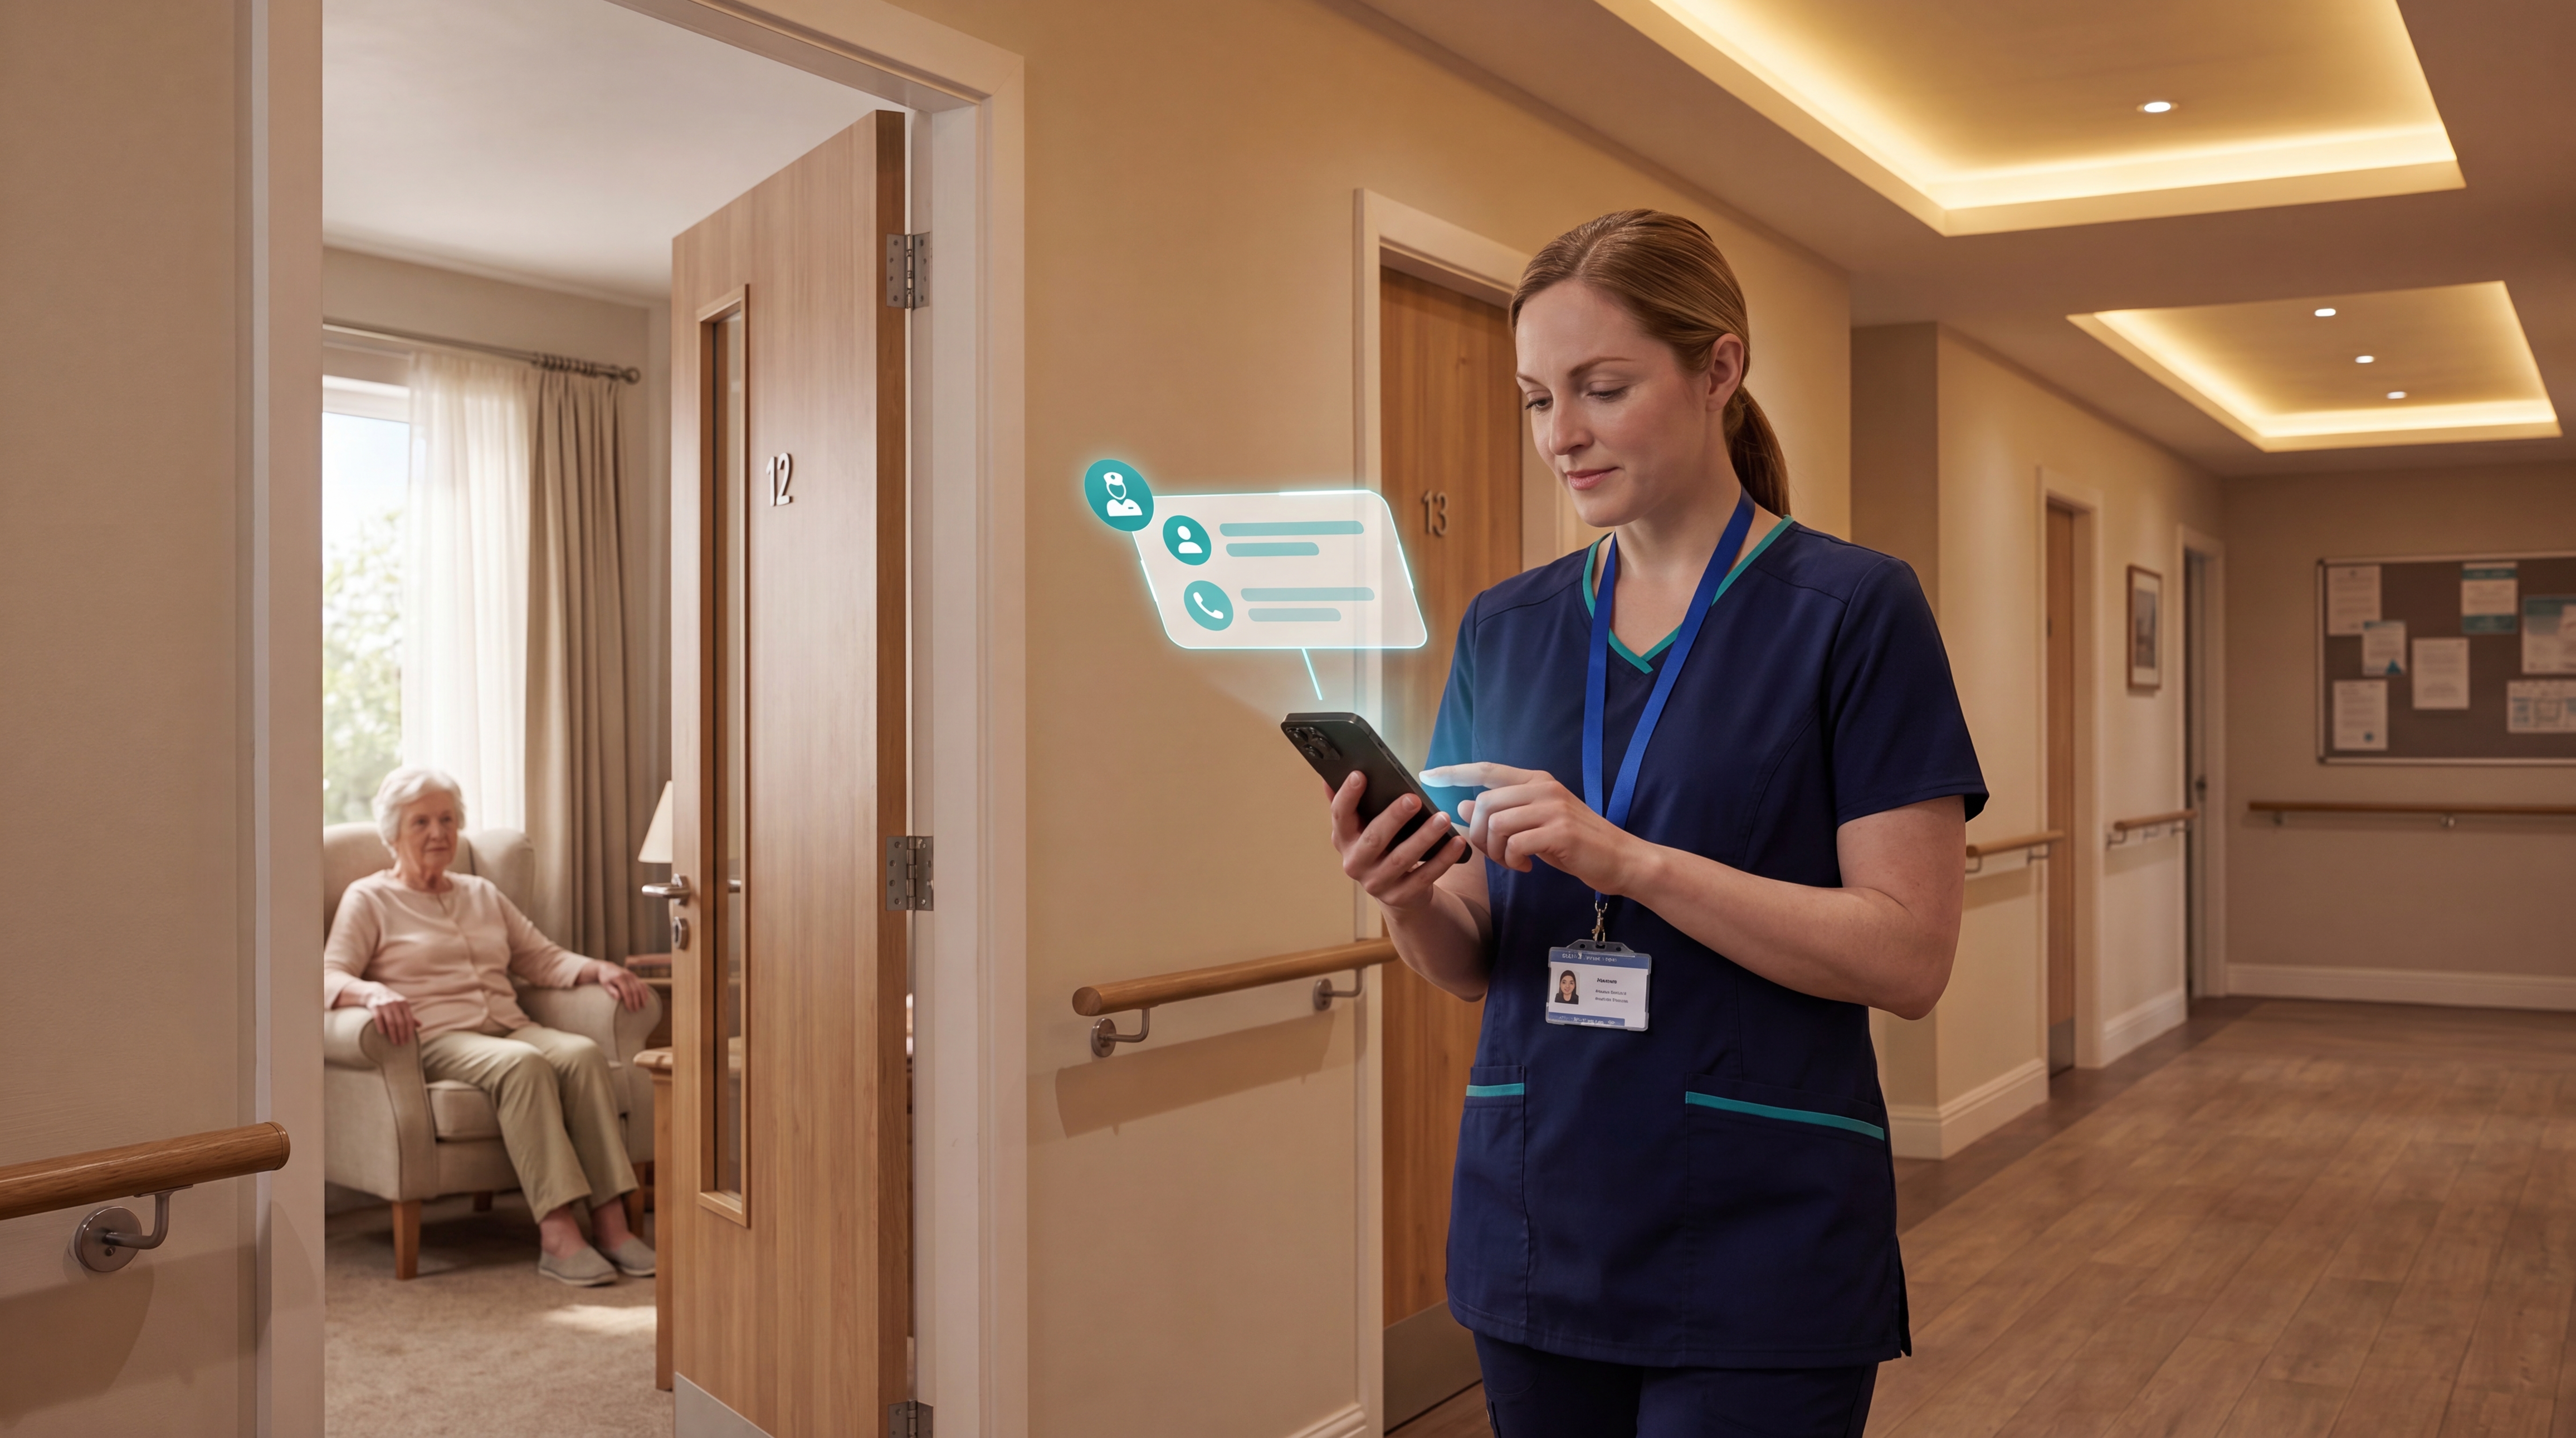
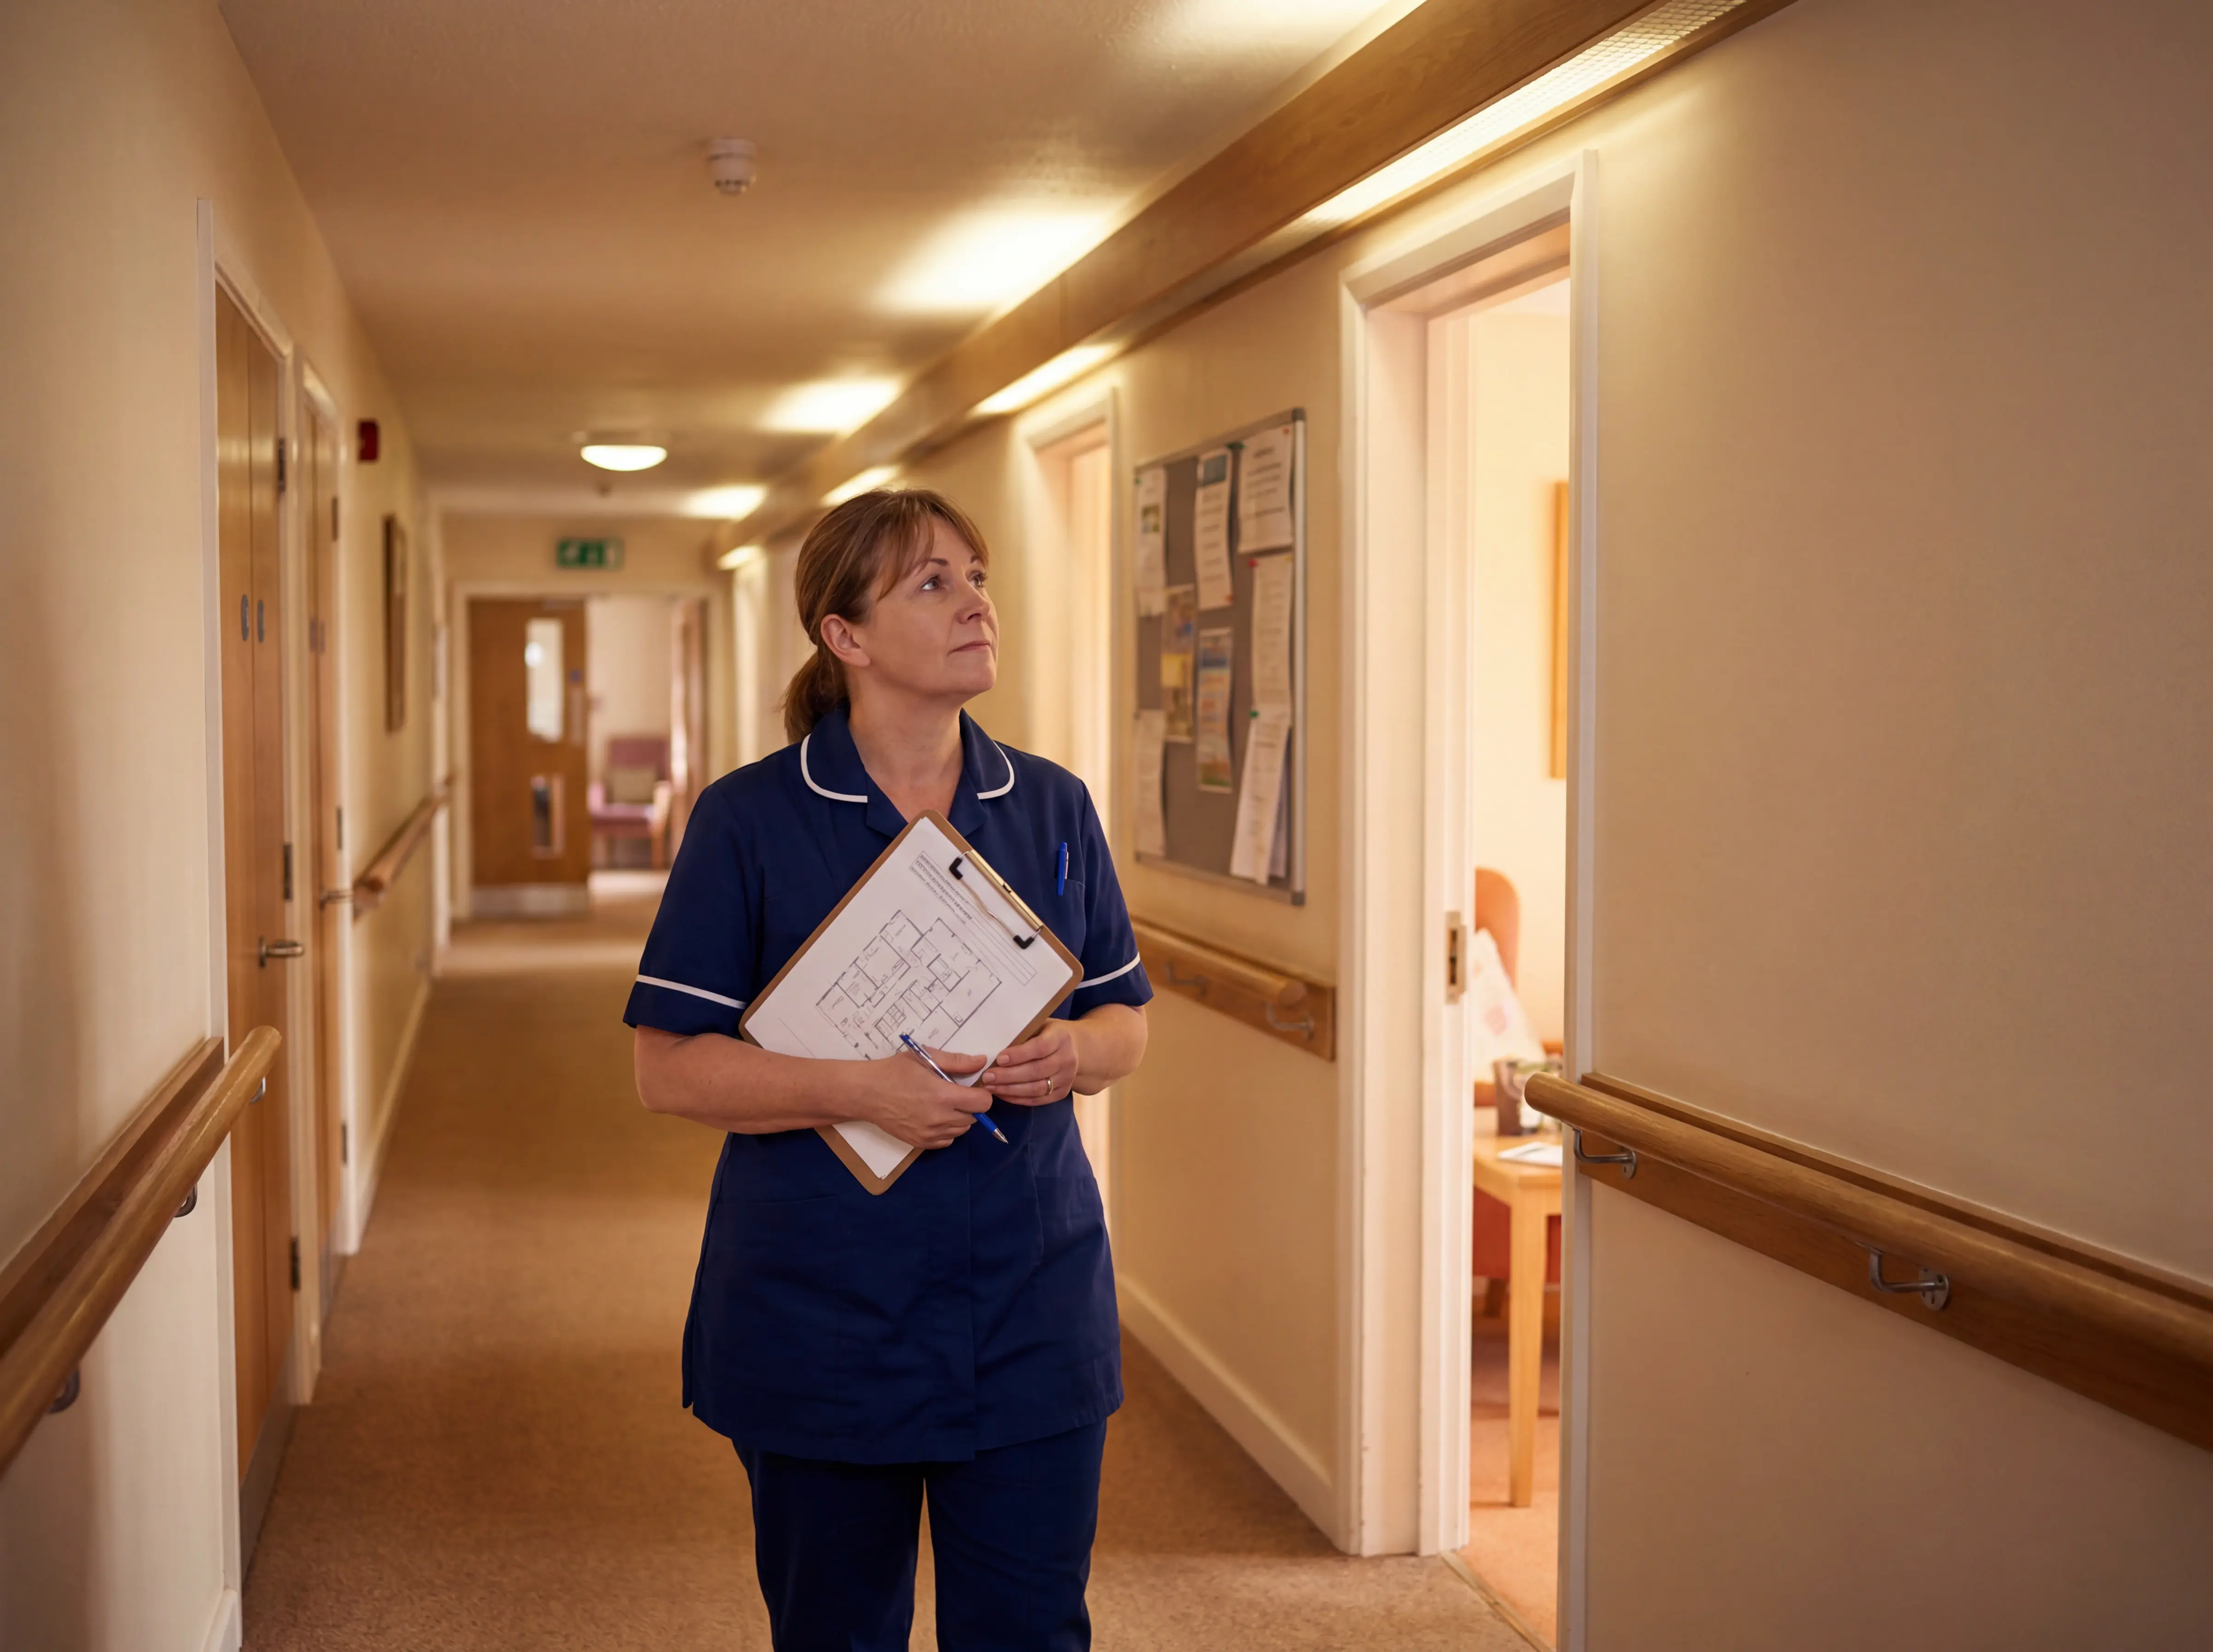
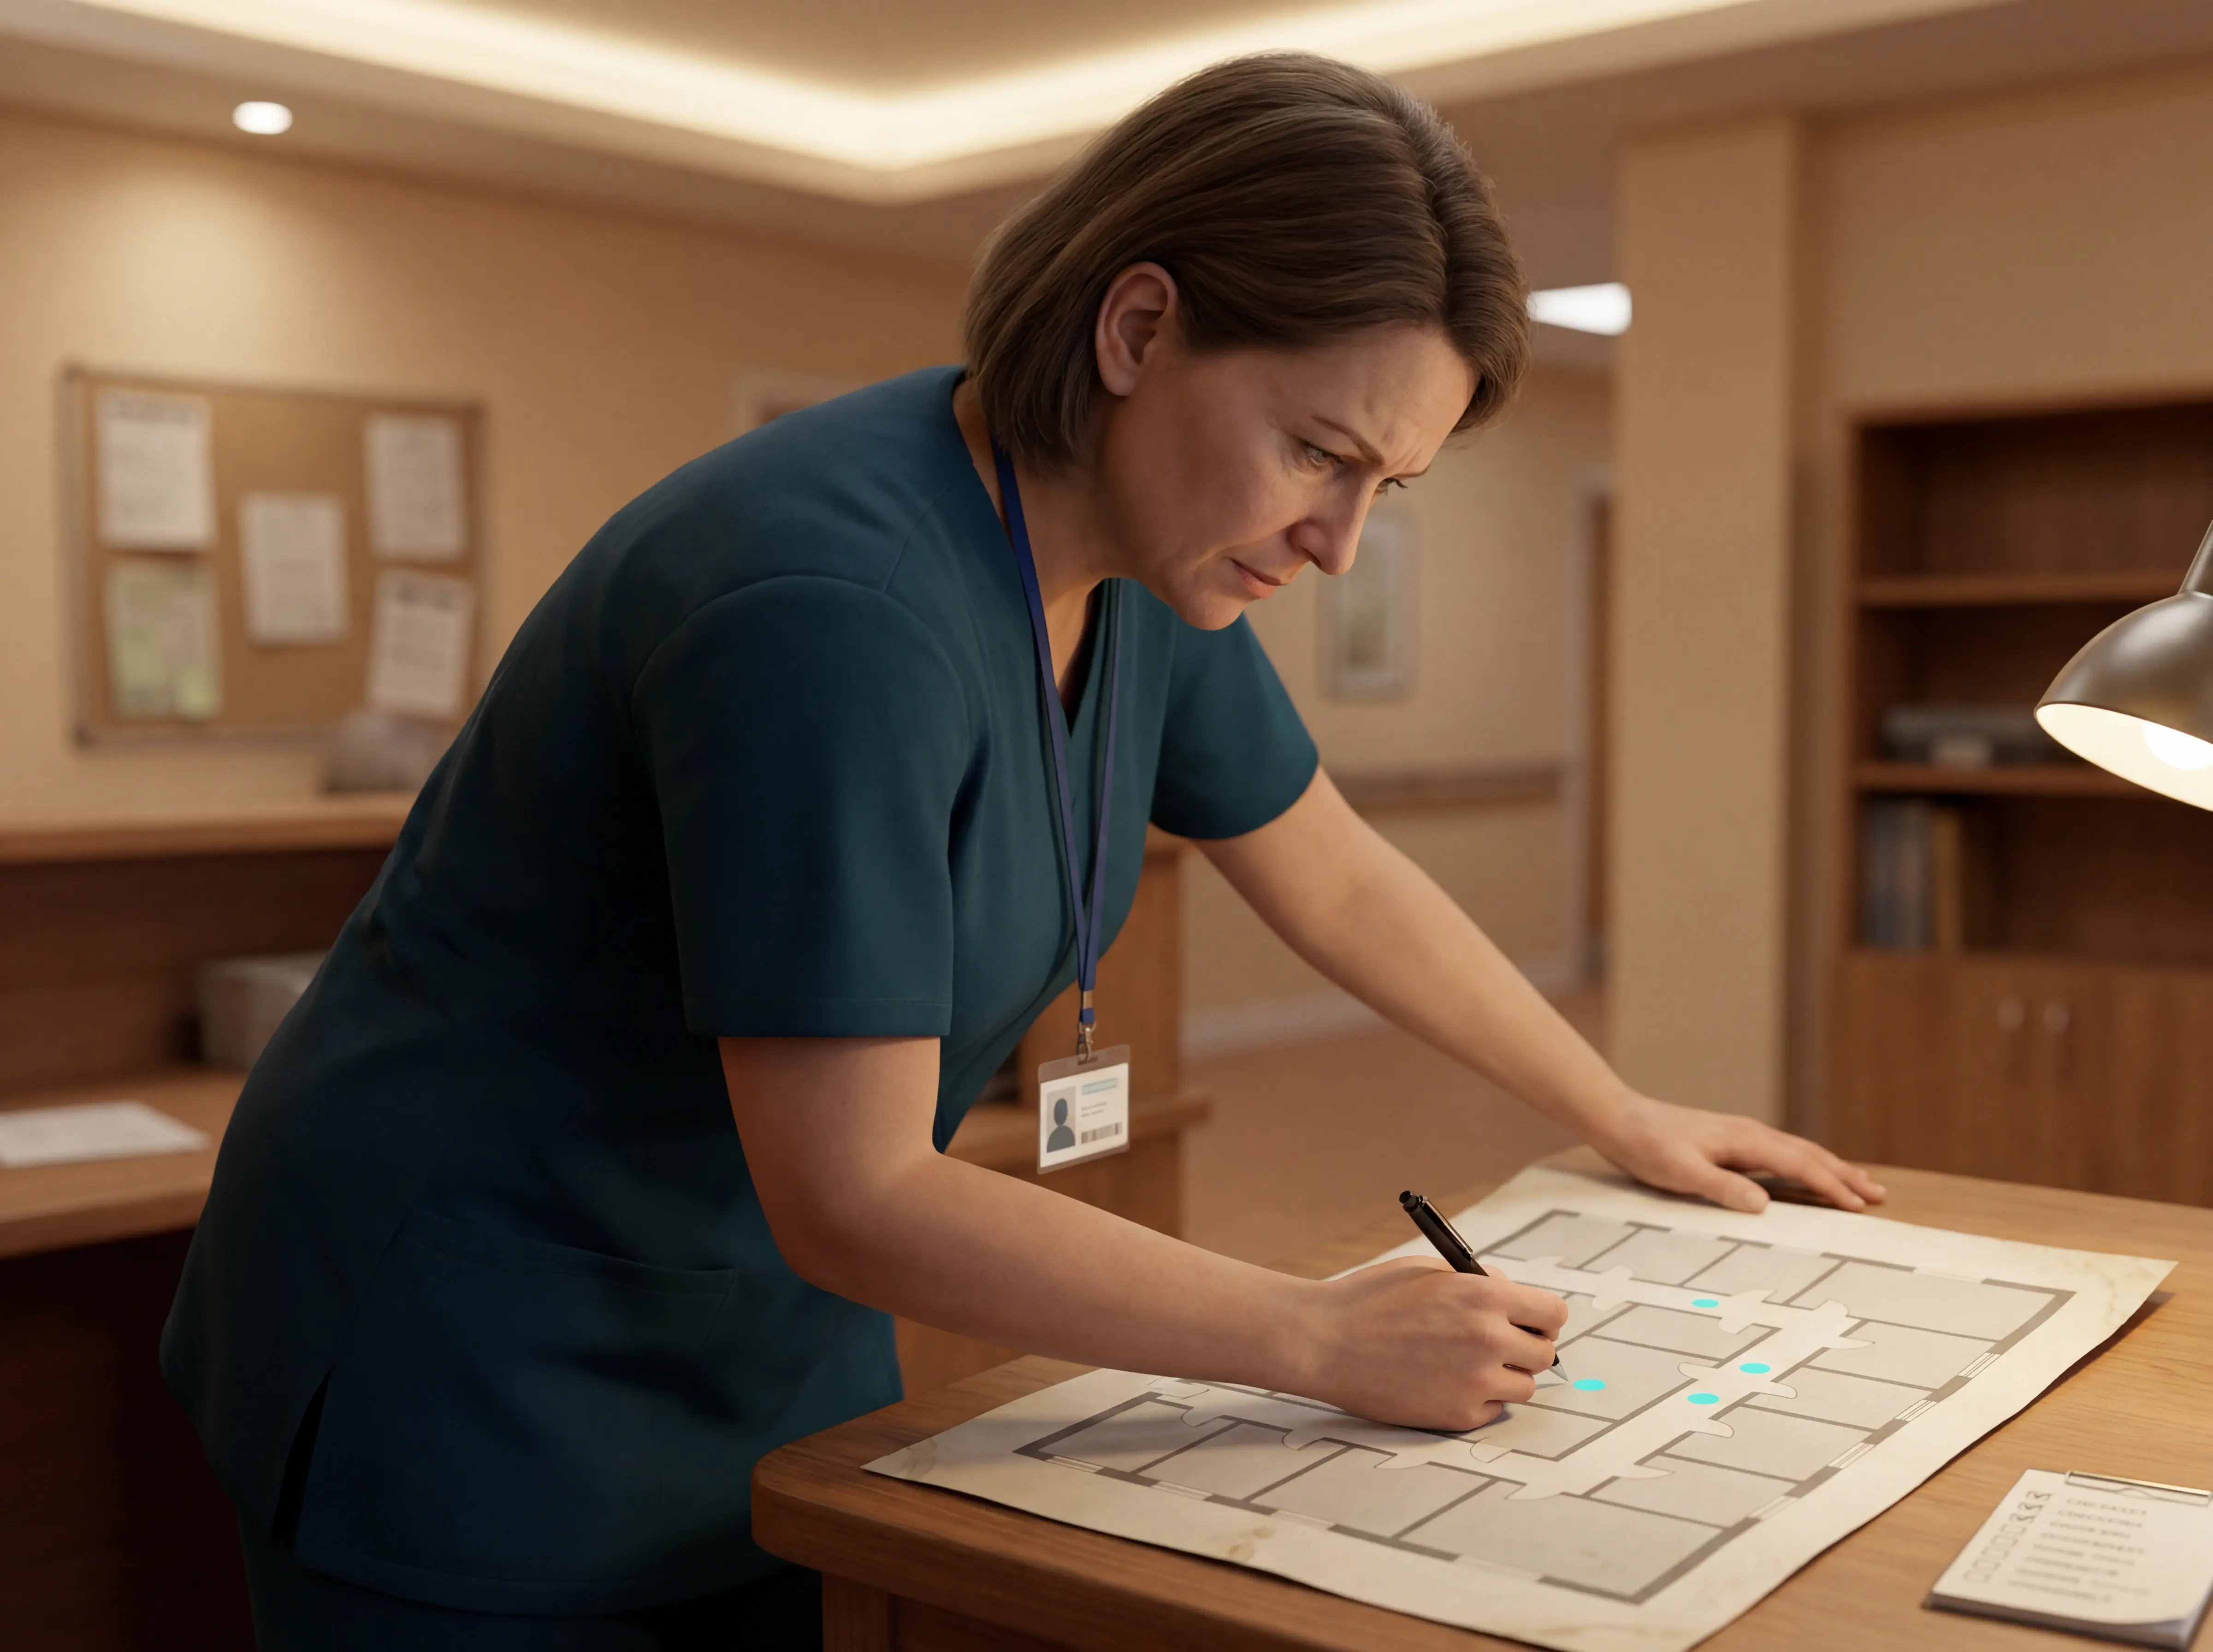
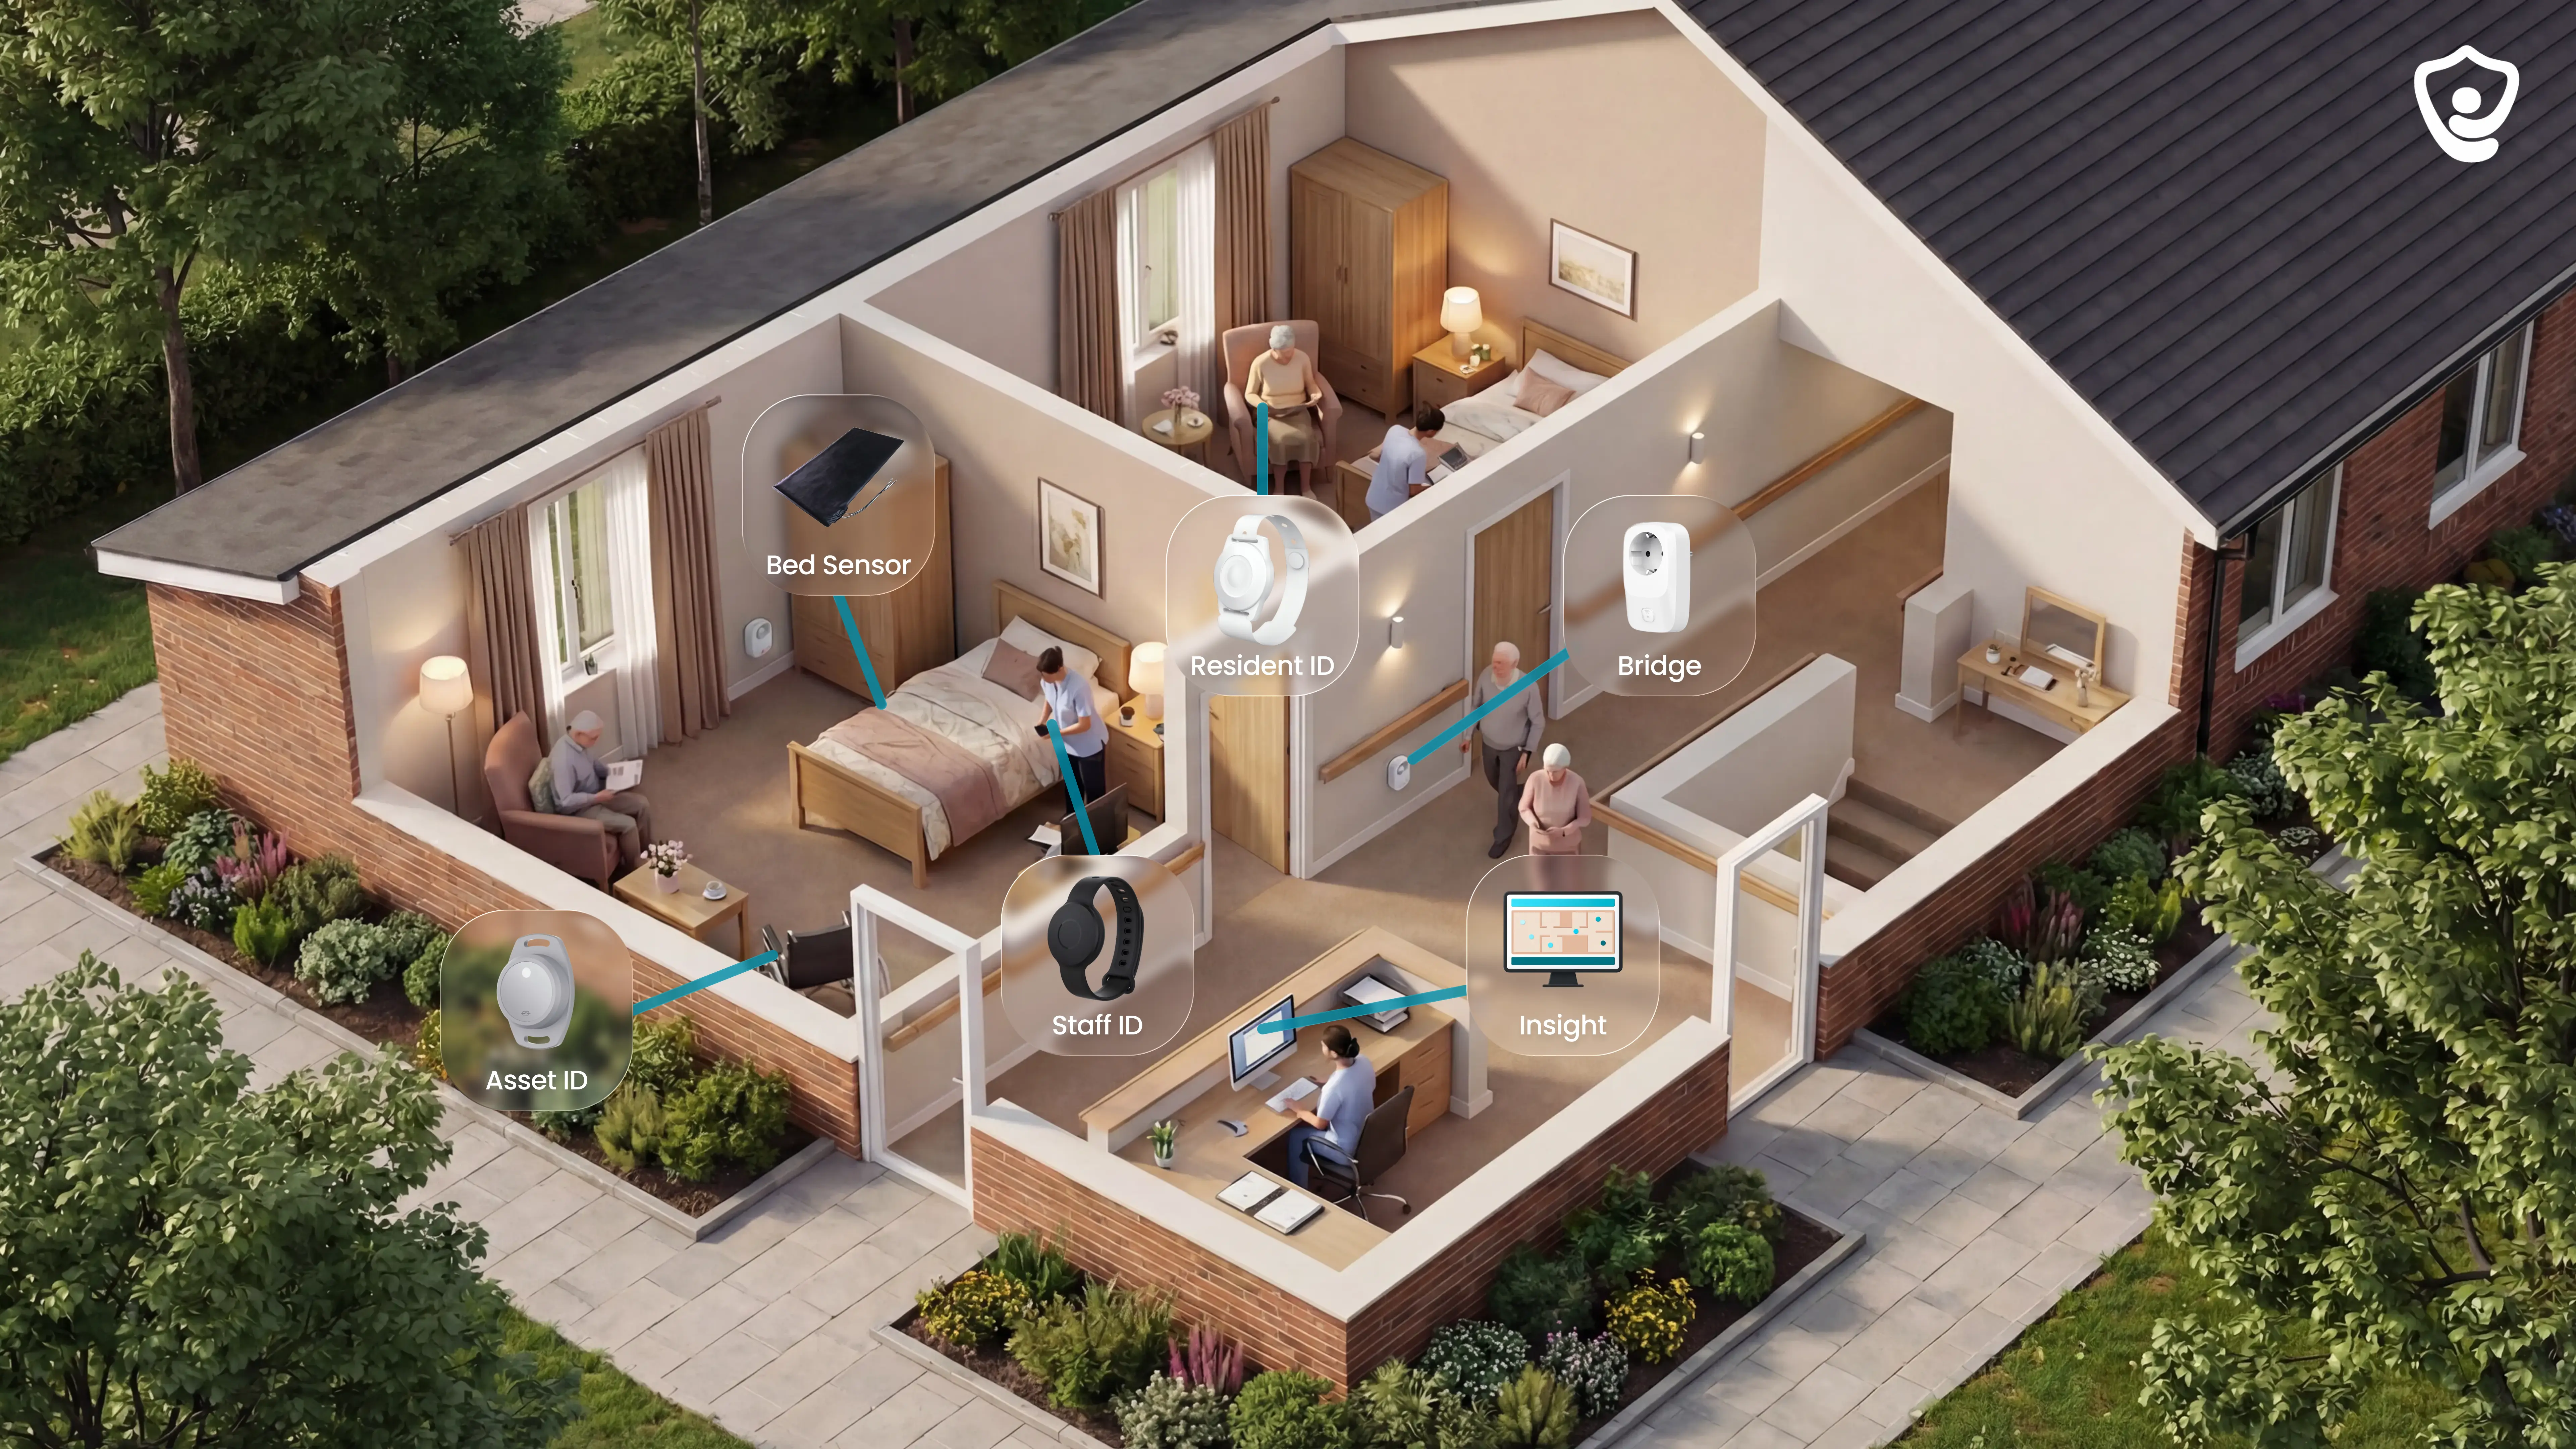
Guardian care intelligence

How to install a nurse call system: a step-by-step guide

Use this guide to plan a nurse call installation without turning it into a long IT project.

The useful test is simple: every alert must show where to go, who should respond, and what record will be left after the shift.
How to Install a Nurse Call System: A Step-by-Step Guide

What nurse call system installation includes

A good installation covers three things. Devices must be in the right places, alerts must reach the right staff, and the handover must leave clean records.

Physical hardware

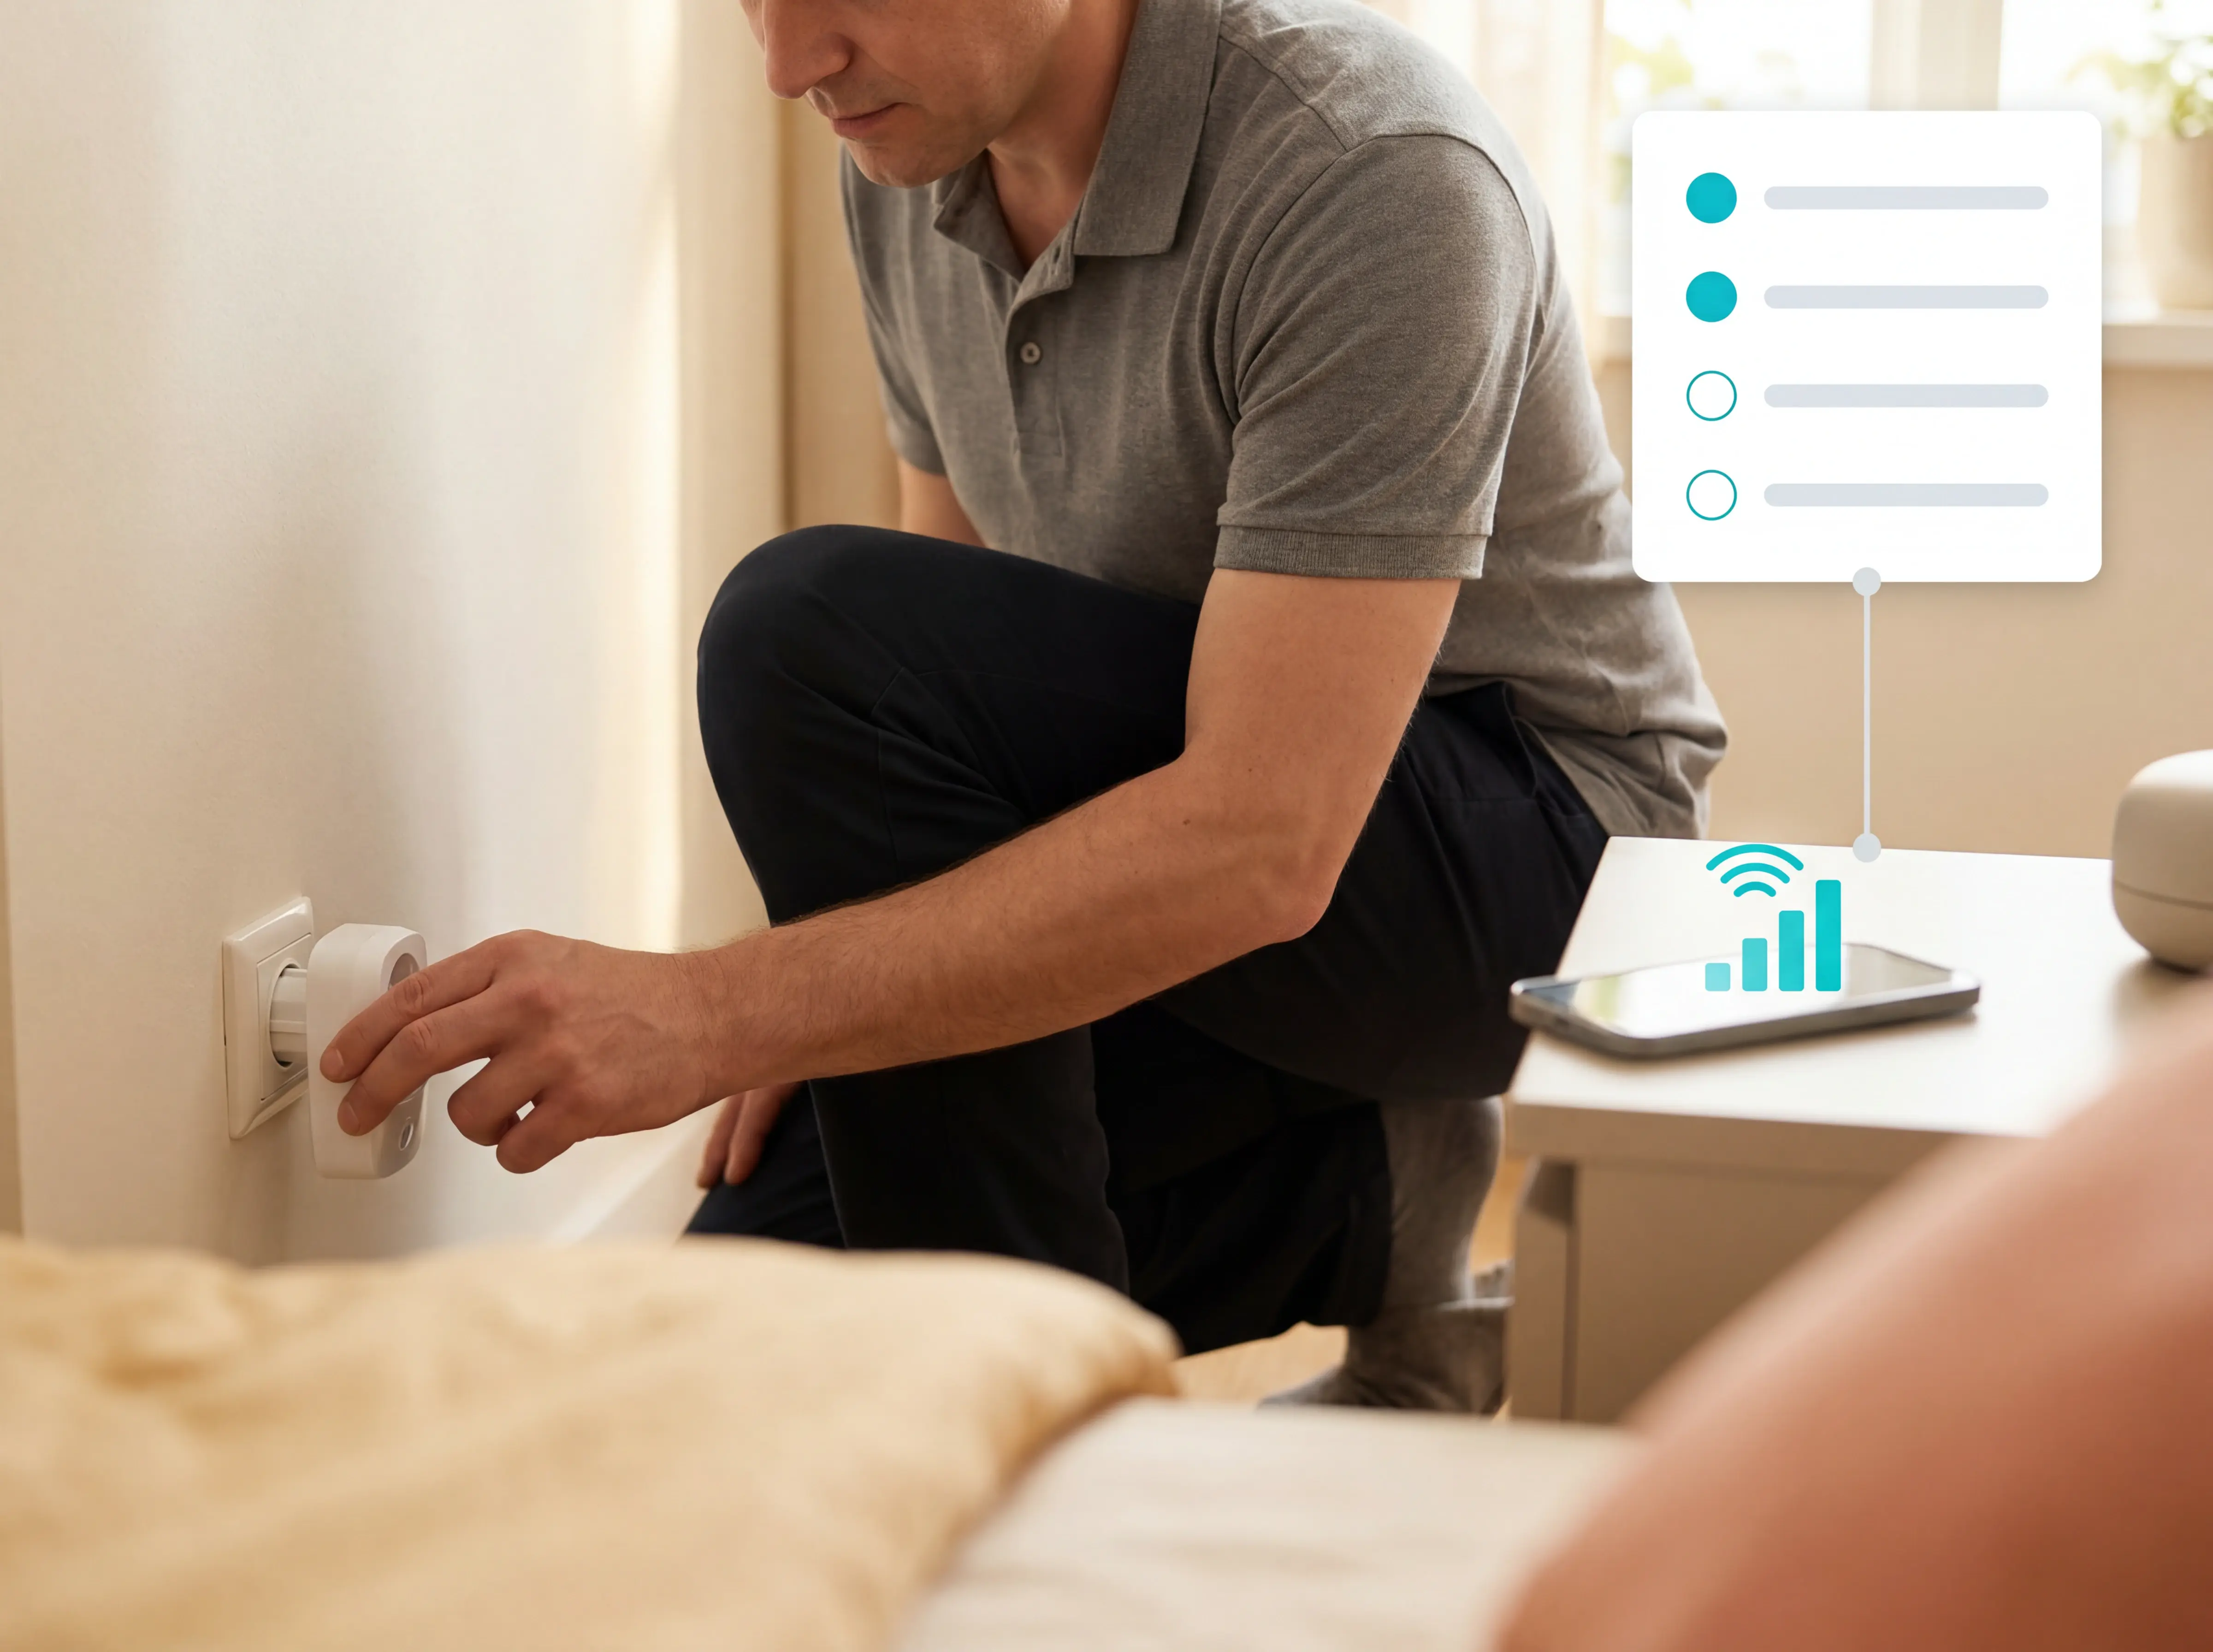
Room call buttons, bathroom pull cords, bed exit sensors, motion sensors, SOS buttons, corridor lights, and a central hub or controller.

Software and routing

Staff devices, paging links, call types, escalation rules, and location labels are configured so alerts reach the right person or team.

Testing and handover

Every call point should be tested, alert routing should be confirmed, and the operator should receive a clear record of devices, rooms, and rules.

Step 1: Assess your facility's needs

Map the operation before you choose hardware.

List resident risks, night-shift routines, bathroom and exit risks, staff response paths, building limits, Wi-Fi coverage, and any systems that may need to connect later.

Use the same brief for every supplier. It keeps proposals focused on your rooms, staff, and response rules rather than a generic kit list.
Step 1: Assess your facility's needs

Step 2: Choose the system type

Choose wired, wireless, or hybrid based on the building and rollout risk.

Wired can fit new builds or major refurbishments. Wireless suits occupied care homes where rooms must stay usable. Hybrid can work when some areas need fixed infrastructure and others need a faster rollout.
Guardian live floor plan showing room-level wearable tracking for nurse call system planning

Approach comparison

Use this quick comparison before asking for quotes. If speed and low disruption matter, wireless is usually the first option to test. Guardian follows this route with adhesive sensors, room registration, and a ward live in about a week.
Wired
New builds, major works
Wireless
Occupied retrofits, urgent rollout
Wired
Cable runs to call points
Wireless
Mount devices, connect hub
Wired
High in occupied rooms
Wireless
Low, no cable runs
Wired
Higher upfront cabling work
Wireless
Fastest practical option

Step 3: Plan components and device locations

Turn the floor plan into a device schedule.

For each room or zone, record the device, mounting point, room or bed label, alert type, and staff group that should receive it.

Start with resident rooms, bathrooms, exits, and the routes staff use at night.
Step 3: Plan components and device locations

Device placement checklist

Plan devices around the moments that create risk: calling for help, leaving bed, using the bathroom, moving through the room, and leaving a safe area.

Call points

Place bedside buttons, SOS buttons, and bathroom pulls where residents can reach them from normal use positions and from floor level where possible.

Passive sensors

Use bed-exit, motion, door, or room sensors where a resident may not press a button.

Staff visibility

Decide what appears on nurse station screens, staff devices, and corridor lights before installation starts.

Room registration

Link every device to the exact room, bed, or zone label staff will see during an alert.

Step 4: Prepare the site and schedule the work

Prepare the site before technicians arrive.

Confirm kit, access, floor plans, staff cover, and resident disruption windows. If night shift is the highest-risk period, finish testing before handover or keep the old process clearly in place.

Kit and labels

Check sensors, buttons, hubs, mounts, cables, spares, and room labels against the installation list.

Access and power

Confirm outlets, locked rooms, plant areas, nurse stations, and mounting points are ready.

Floor plan

Share an accurate room list or layout so devices can be mapped with staff.

Resident disruption

Schedule noisy or intrusive work around care routines, meals, medication rounds, and rest periods.

Staff cover

Assign someone who knows the building to answer installer questions without weakening care cover.

Step 5: Install devices and configure the system

Install the devices against the room plan, then configure the alert path before handover.

For each device, check the mounting point, label, room or bed assignment, alert type, priority, first staff group, and escalation route. A sensor is not live until staff see the right location and know what to do next.
Guardian wireless nurse call monitoring interface with live room visibility and alerts

Step 6: Test and accept the system

Test before residents rely on the system.

Trigger each call point, sensor, wearable, display, and escalation rule from the place it will actually be used. Fix faults as they appear, then repeat the same test and keep the record.

Do not accept the system on a verbal handover.
Guardian nurse call system screenshots showing wireless room-level alert monitoring

Step 7: Train staff by role

Train staff on the decisions they make during a shift, not on every feature.

Caregivers need to read the alert, find the room, follow the care plan, and clear the call at the right time. Nurses and managers need priority rules, escalation paths, reports, and a simple first-check routine for faults.

Cover day, evening, night, agency, and new-starter workflows before go-live. Role training also depends on the staff-workflow caregiver alert overview, which connects alert reading, routing, and call clearing.
Step 7: Train staff by role

Step 8: Maintain and support the system

Maintenance starts after acceptance, not after the first failure.

Check active faults, offline devices, low batteries, room moves, routing changes, and software updates on a set rhythm. Re-test alerts after any change that could affect what staff see during a live call.

During the first 6 to 8 weeks, review exceptions weekly and adjust rules with support.
Step 8: Maintain and support the system

Questions to ask your installation provider

Ask questions that show what happens after the engineer leaves. The answers should cover ownership, evidence, training, support, and how performance will be measured. Before quotes come in, the provider-accountability supplier comparison separates manufacturers, installers, and monitoring platforms.

Did you survey the site before quoting?

Ask whether rooms, bathrooms, corridors, nurse stations, Wi-Fi, wiring routes, and integration points were checked.

Why this system type?

Ask why wired, wireless, or hybrid fits your building, residents, and rollout risk.

Who configures the workflow?

Confirm who sets rooms, zones, alert priorities, staff groups, escalation rules, and reporting access.

What training is included?

Check that caregivers, nurses, managers, night staff, agency staff, and new starters are covered.

How is acceptance evidenced?

Ask for test records, device inventory, configuration records, and signed handover documents.

What support is in scope?

Get response routes, outage process, support hours, paid extras, and ownership of integrations in writing.

When wireless installation needs to be up and running in a week: Guardian

Use Guardian when the right route is wireless and the care team needs room-level alerts and automatic records quickly. It fits care homes where incident notes sit across paper logs, night staff need clearer signals, and resident rooms must stay usable during setup.

Guardian maps each device to the home's floor plan before alerts go live, so staff know which room or bed needs attention.
When wireless installation needs to be up and running in a week: Guardian

Ready to start a wireless pilot?

Tell us which ward you want to test first. We'll return a pilot scope covering the setup route, first alert rules, and impact measures for rollout decisions.
Request a pilot

Common questions

What are the three main categories of nurse call systems? +
The three main categories are wired nurse call systems, wireless nurse call systems, and reporting or paging systems.
  • Wired nurse call: room devices, corridor lights, and nurse stations are connected through fixed cabling.
  • Wireless nurse call: devices communicate by radio or IP connection, so installation avoids new cable runs.
  • Reporting and paging: alerts, escalations, staff notifications, and logs sit on top of the call system.

Not every category includes automatic detection. Manual buttons only work when a resident can press them, while motion and bed exit sensors can raise alerts without resident action.
What are the common problems with nurse call systems? +
The common problems are alarm fatigue, poor integration, weak coverage, and staff workarounds that quietly bypass the system.

Alarm fatigue develops when alerts fire too often or do not match the resident's real risk. Staff lose trust, start ignoring noise, and genuine emergencies become easier to miss.

Integration gaps create a different risk. If call activity, care records, and handovers live in separate systems, managers have to rebuild the story from partial notes.

Coverage failures matter most when staffing is thin, especially at night. If an alert arrives late, lacks location, or never appears, staff may only discover the incident on the next round.

Look for systems that reduce noise, show location clearly, and leave an automatic record of what happened.
How long does installation take? +
Installation can take one day to several weeks, depending on the system type, facility size, and integration scope.

Wired systems usually take longer because installers must run cable, open walls or ceilings, test each call point, and restore rooms afterward.

Wireless systems are faster because sensors can be placed without drilling or cabling. In a scoped Guardian pilot, one ward can usually be live in about a week.

The timeline still depends on practical details:
  • Facility size: more floors, wings, and rooms mean more devices to place and test.
  • Device mix: bed sensors, motion sensors, door sensors, and SOS buttons each need mapping.
  • Integration needs: EMR, paging, or access control links add configuration time.
  • Training: portal-based wireless systems can usually train staff within the installation window.

If speed matters, ask the provider what can go live first and what can wait for a later phase. For care homes that need a wireless pilot quickly, Request a pilot.
Aleks Timm

Author

Aleks Timm

Aleks Timm leads Guardian and builds privacy-first operations technology for care homes and home care providers. Teams get location-aware alerts they can act on, clearer situational awareness, and measured insight into how care work actually runs.

Read More